DIY Artificial Turf Installation — BC Homeowners
You Can Install Artificial Turf in British Columbia.
Here's How to Do It Right.
Installing artificial turf is a realistic DIY project for most BC homeowners. With the right materials, a proper base, and a clear plan — you can have a clean, low-maintenance lawn that lasts 15+ years. Premium Grass Blades will help you get there.
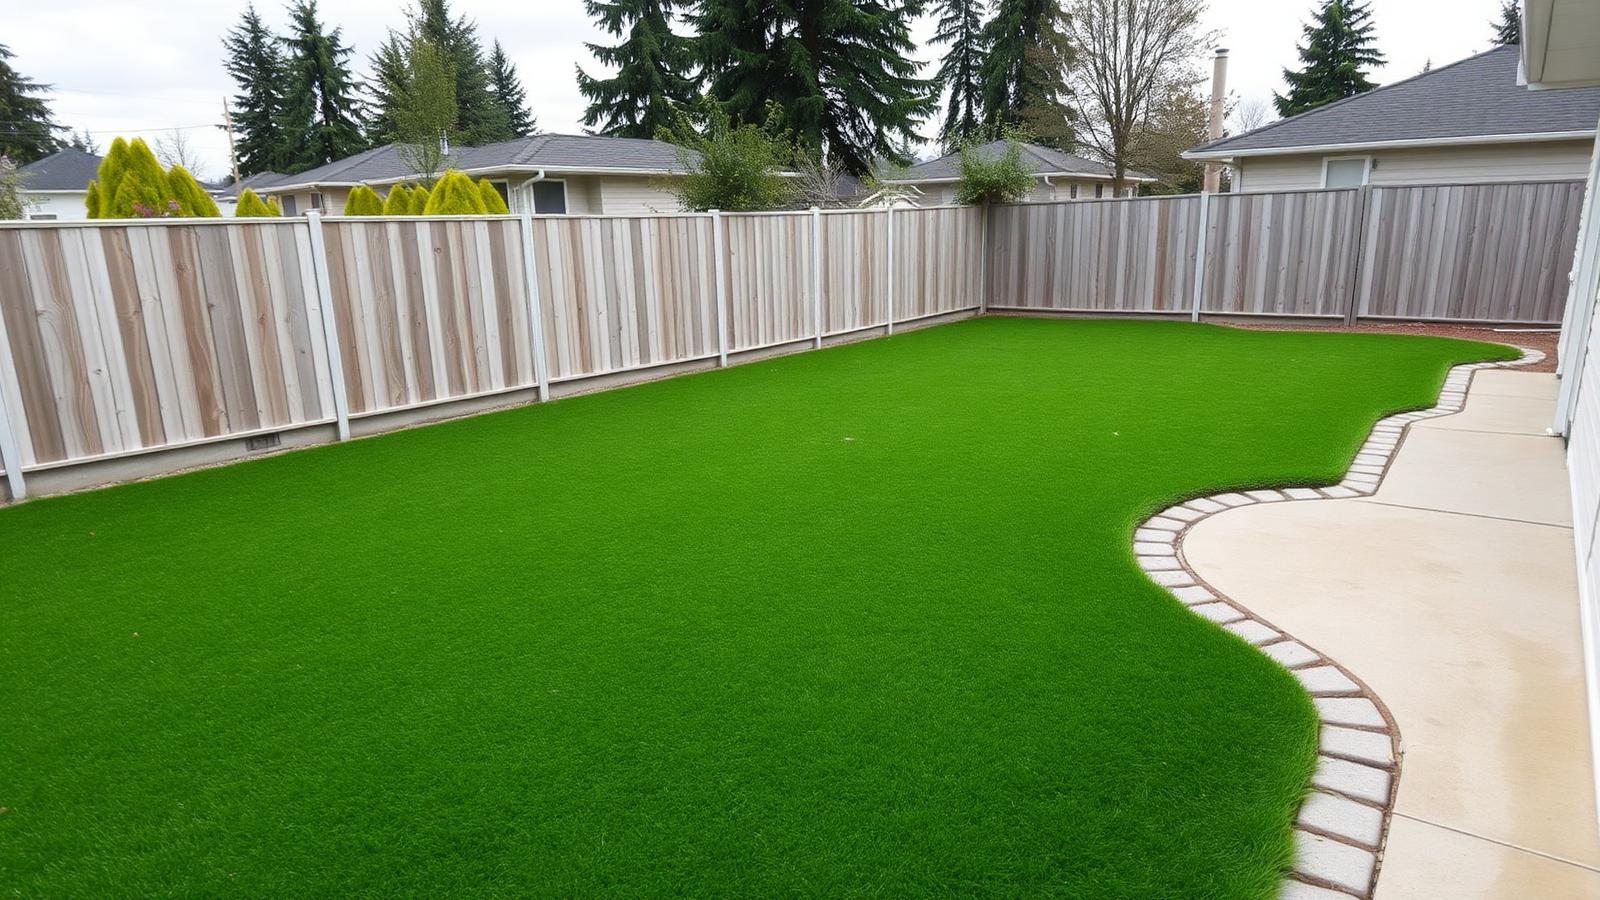
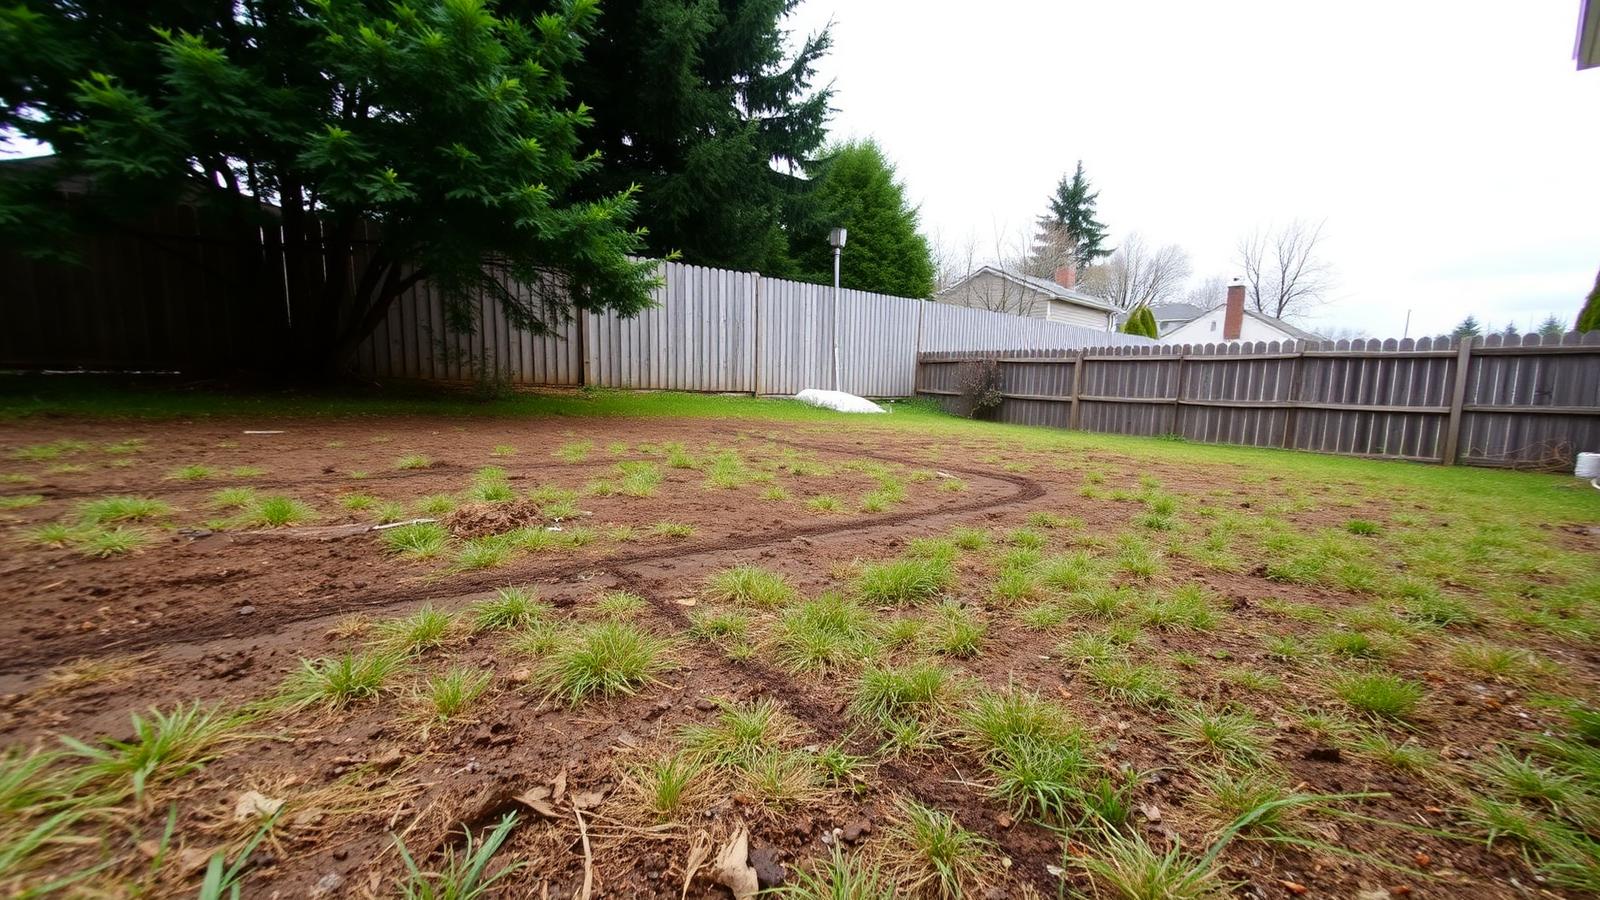
Drag the slider to compare a tired backyard with a finished DIY turf install.
Before You Start
Is DIY Artificial Turf Installation Right for Your British Columbia Project?
Most residential artificial turf installs in British Columbia are absolutely achievable as a DIY project — especially for straightforward backyard areas. Thousands of homeowners across the Lower Mainland and Fraser Valley have installed their own turf successfully. That said, some projects are more complex than others. Being honest about your situation before you start will save you time, money, and frustration.
✅ Good for DIY
- •Flat or gently sloping yard
- •Simple rectangular or L-shaped area
- •No major drainage concerns
- •Access for equipment and materials
- •Comfortable with physical outdoor work
- •Time to do it right over a weekend or two
⚠️ Consider Getting Help
- •Significant slope or drainage issues
- •Multiple complex angles or curves
- •Large area requiring multiple seams
- •Existing hardscape to work around
- •Tight timelines or large commercial space
- •Unsure about base preparation requirements
Not sure yet? Our team is here to help you plan. Before you buy anything, contact us with your yard dimensions, photos if possible, and any questions about drainage, slope, or base prep. A 10-minute conversation can save you a full weekend of rework.
What You'll Need
Tools and Materials for a DIY Artificial Turf Install
Having the right materials before you start is one of the most important parts of a successful install. Premium Grass Blades stocks everything you need — available for pickup at our Maple Ridge warehouse or delivery across BC.
📦 Materials You'll Need to Buy
- Artificial turfPGB supplies
Measure your area and add 10–15% for waste and trimming.
- Crushed gravel base
3/4" minus or road base — typically 3–4 inches deep for BC drainage. Source locally.
- Weed barrier / landscape fabricPGB supplies
Prevents organic growth pushing through the turf surface over time.
- Infill (silica sand, Zeo Odour, or Turf Armor)PGB supplies
Depends on your turf type and use case. Ask us before you order.
- Turf nails or staplesPGB supplies
Secure the perimeter and any seams.
- Seaming tapePGB supplies
Self-adhesive, used where turf pieces join.
- Bender board or edgingPGB supplies
Creates a clean border and holds the turf perimeter.
🔧 Tools You'll Need to Have or Rent
- Plate compactor
Essential for compacting the gravel base. Rent from a local equipment yard.
- Utility knife / turf cutterPGB supplies
For trimming the turf to shape. Keep blades sharp.
- Straight edge or chalk line
Helps you cut clean, straight edges.
- Hammer or nail gun
For driving perimeter nails.
- Rake and wheelbarrow
For moving and levelling the base material.
- Power broom or stiff brushPGB supplies
For standing up fibres and working in infill after install.
- Tape measure
Measure twice, cut once.
Not sure what infill to use? The right infill depends on your turf product and how you're using the space. Ask our team before you order and we'll match you with the right product for your project.
Step-by-Step Installation
How to Install Artificial Turf — A British Columbia Homeowner's Guide
Follow these steps in order. The base preparation stages (Steps 1–3) are the most important — they determine how your turf performs and how long it lasts. Don't rush them.
Mark Out and Measure Your Area
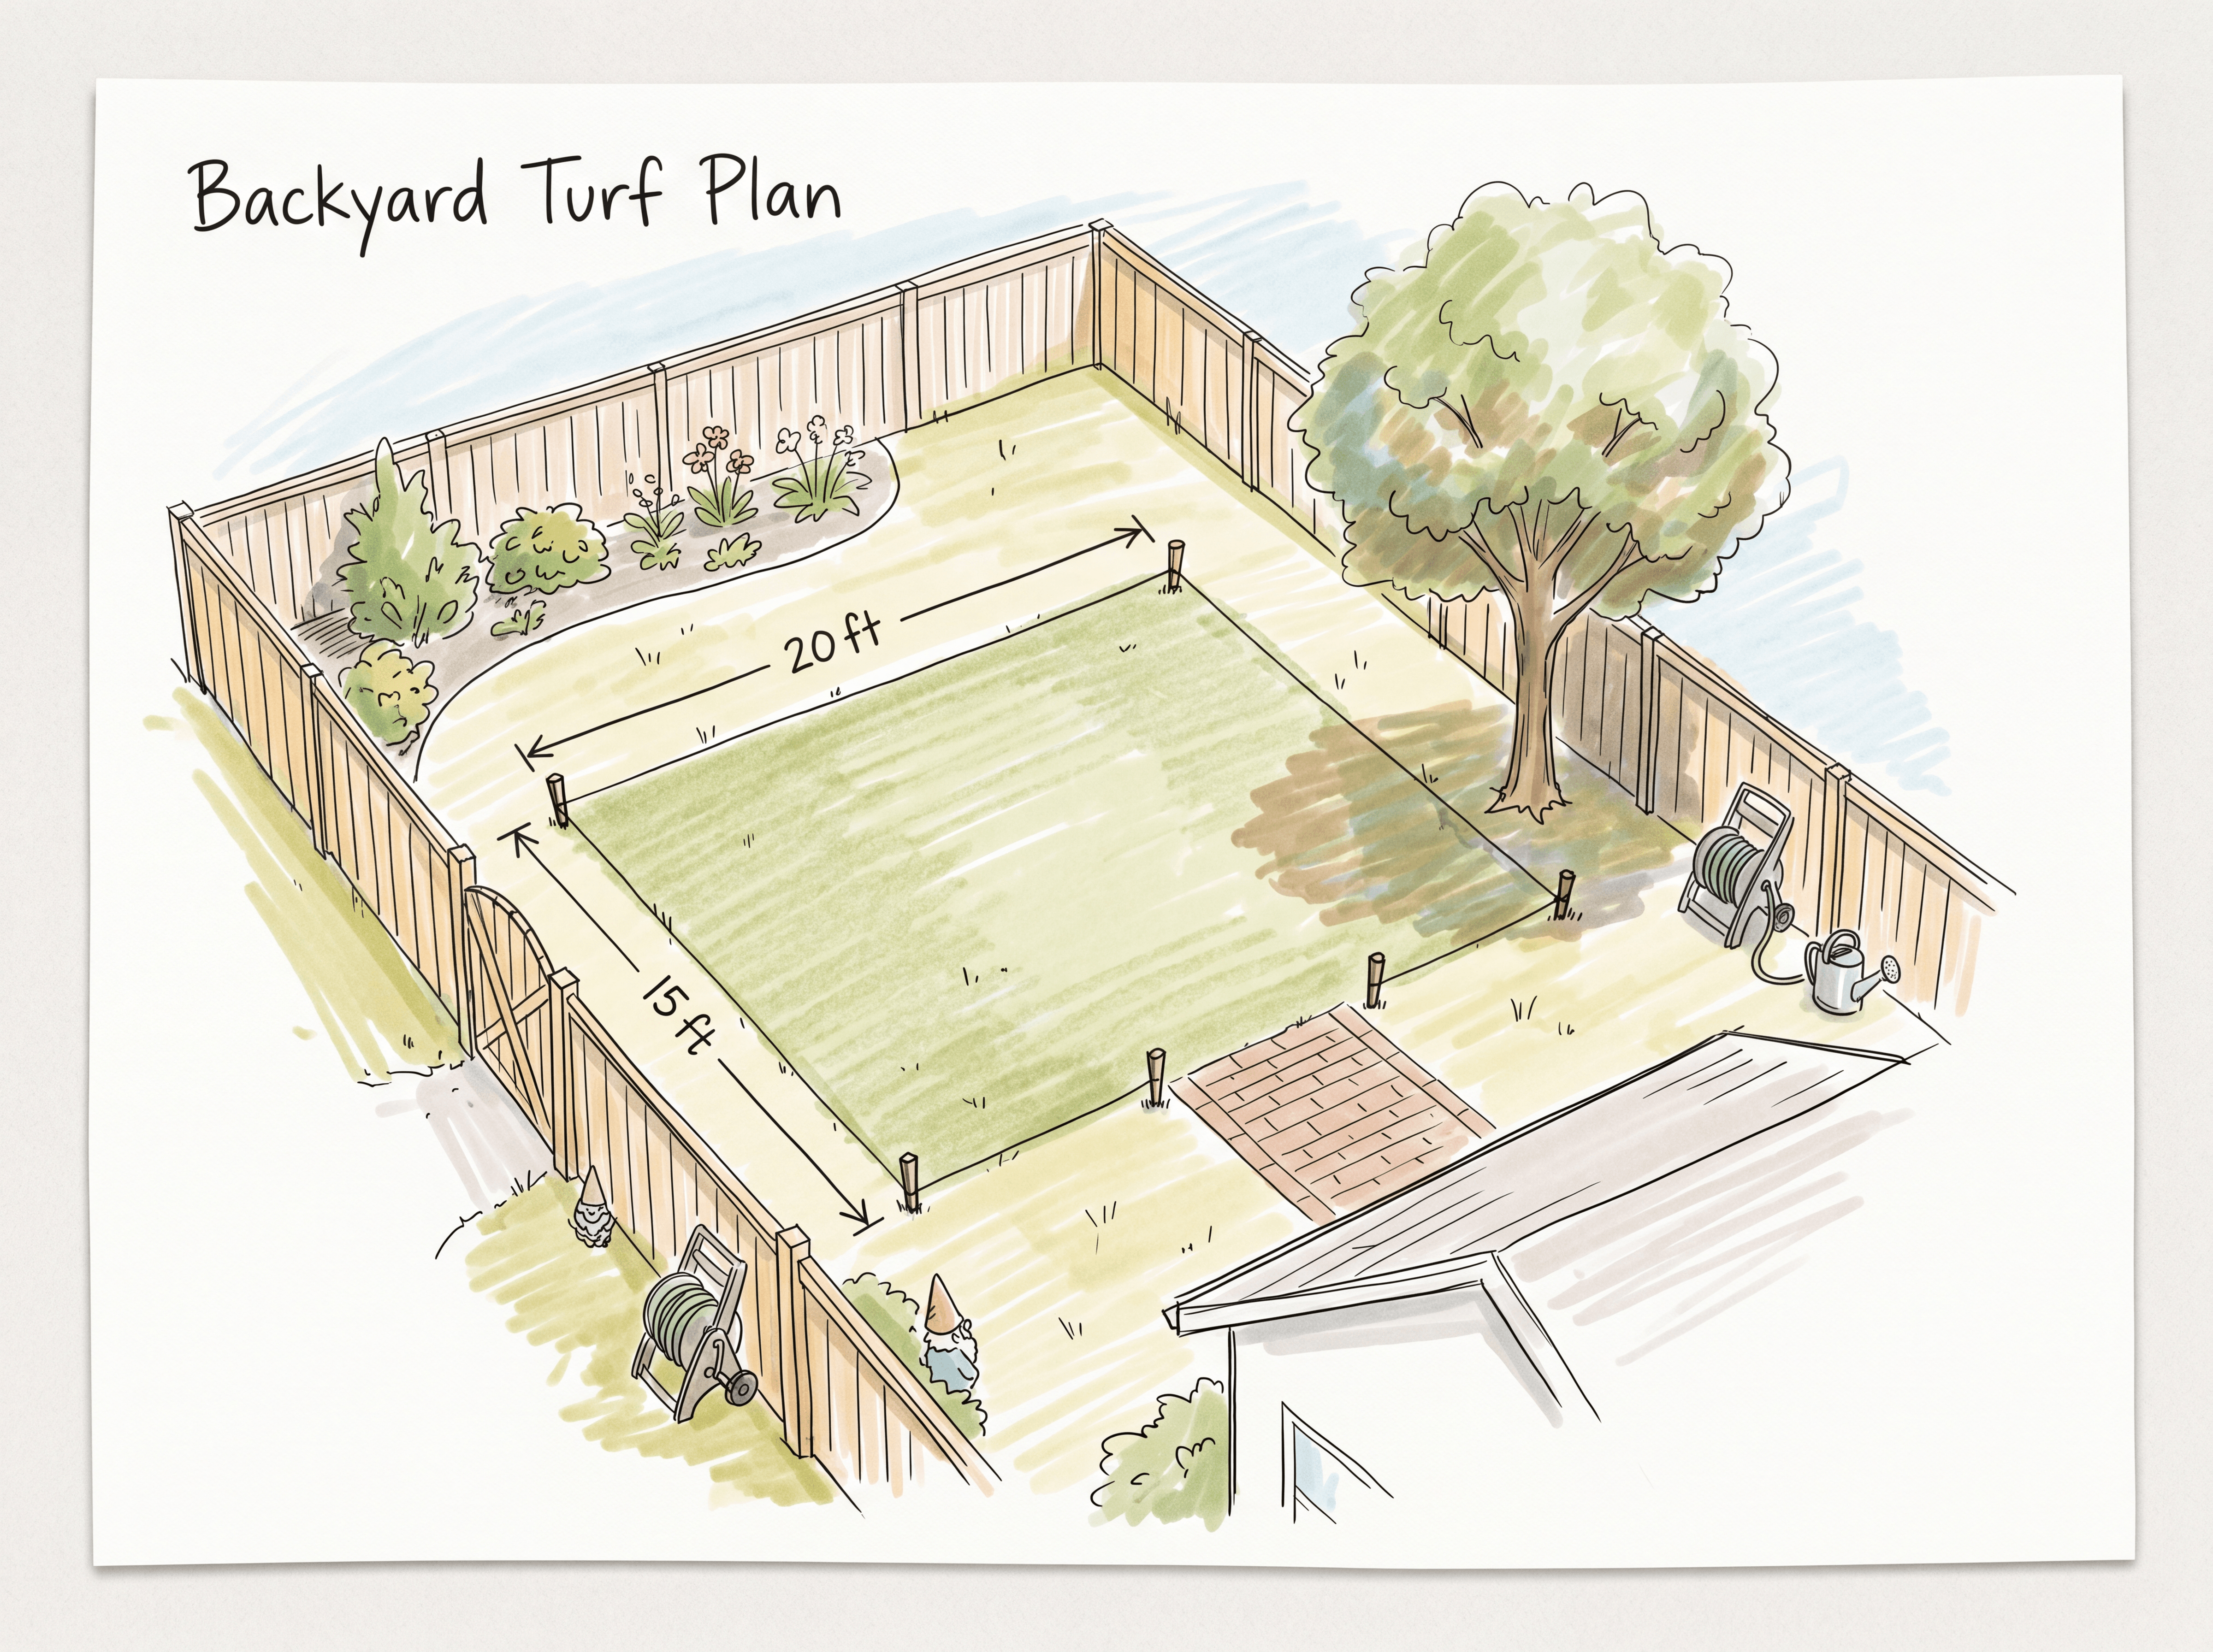
Before anything else, define the exact area you're turfing. Use stakes and string lines to mark the perimeter clearly. Take careful measurements — length, width, and note any irregular shapes or features like garden beds, trees, or posts.
- •Measure total square footage and add 10–15% for trimming waste
- •Note the direction of natural light — lay turf fibres facing the main viewing angle
- •Check your slope — a slight fall away from the house (1–2%) improves drainage
- •Photograph the area before you start — useful for planning and problem-solving later
PGB Tip: Send us your measurements and a photo before you order. We can confirm your turf quantity and help you plan your layout to minimise seams.
Remove Existing Grass and Vegetation
The existing lawn, weeds, and organic material need to come out completely. Any organic matter left behind will decompose, create soft spots, and allow weeds to push through over time.
- •Remove grass and topsoil to a depth of approximately 3–4 inches
- •Remove roots and organic debris as thoroughly as possible
- •For larger areas, consider hiring a sod cutter or mini-excavator
- •Check the soil condition once exposed — soft, unstable areas may need additional work
⚠️ Heads up: Call BC One Call (1-800-474-6886) before you dig to identify underground utilities. This is free and required by law in British Columbia.
Install and Compact the Gravel Base
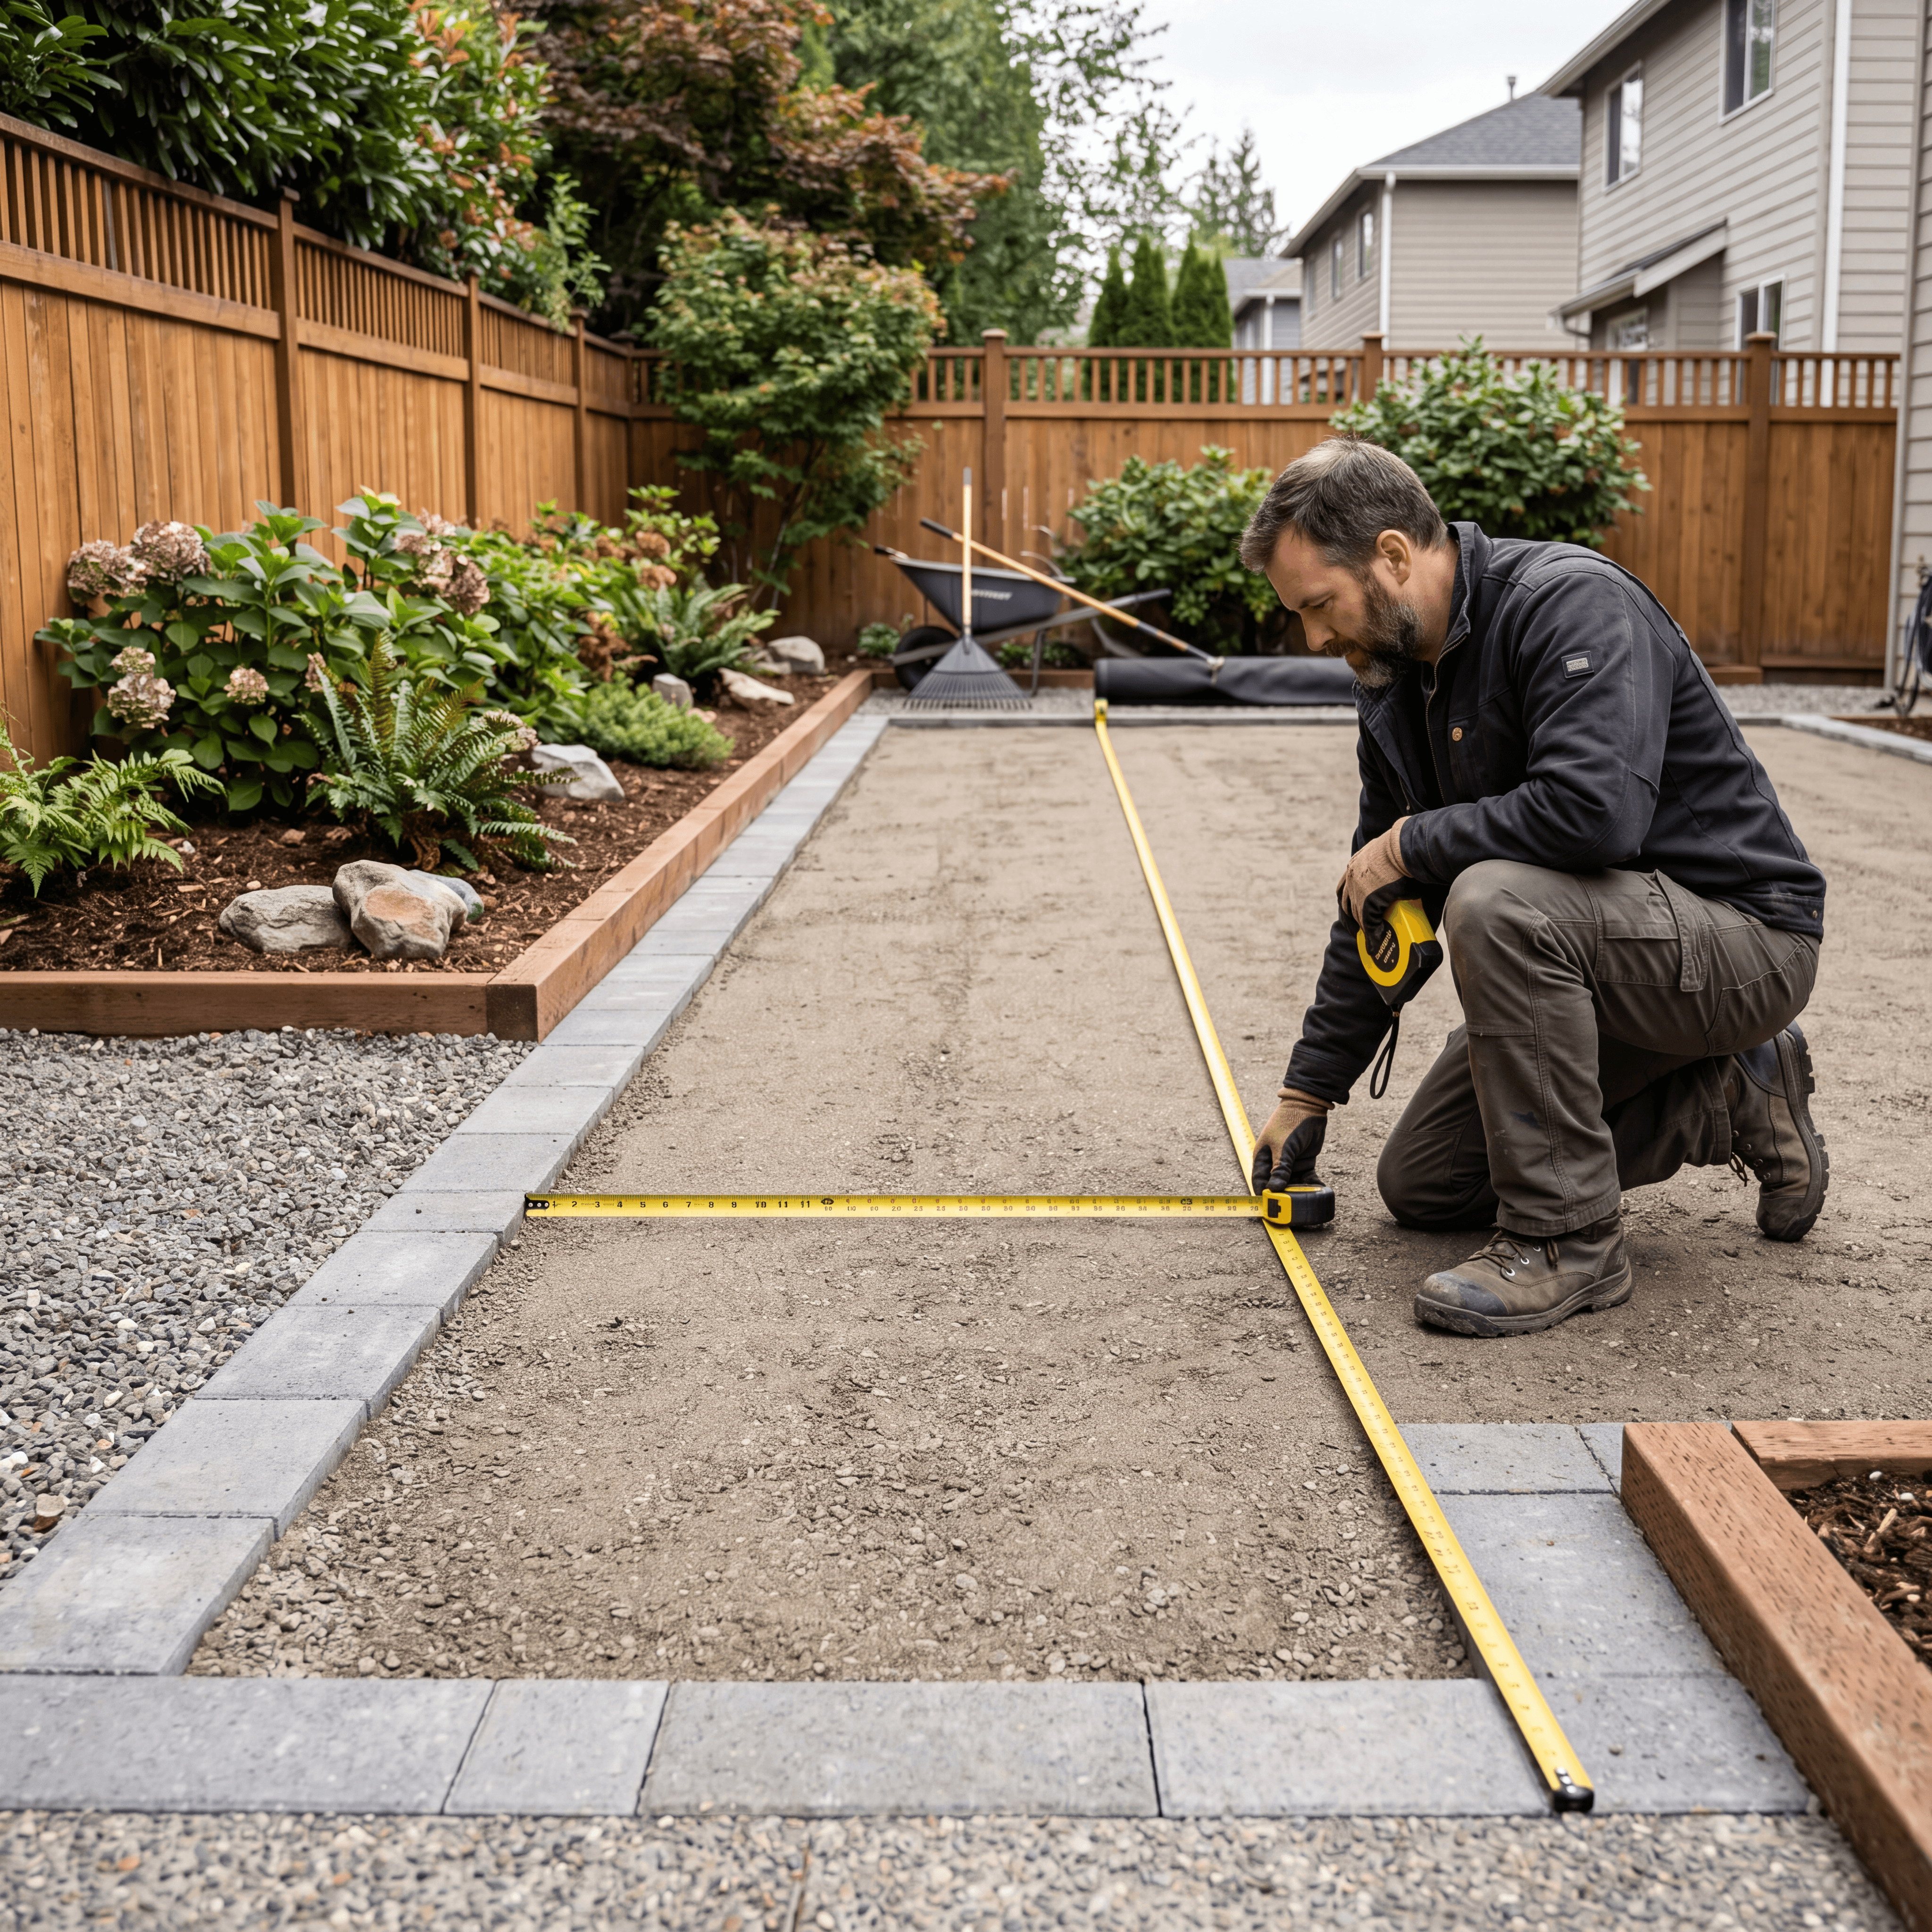
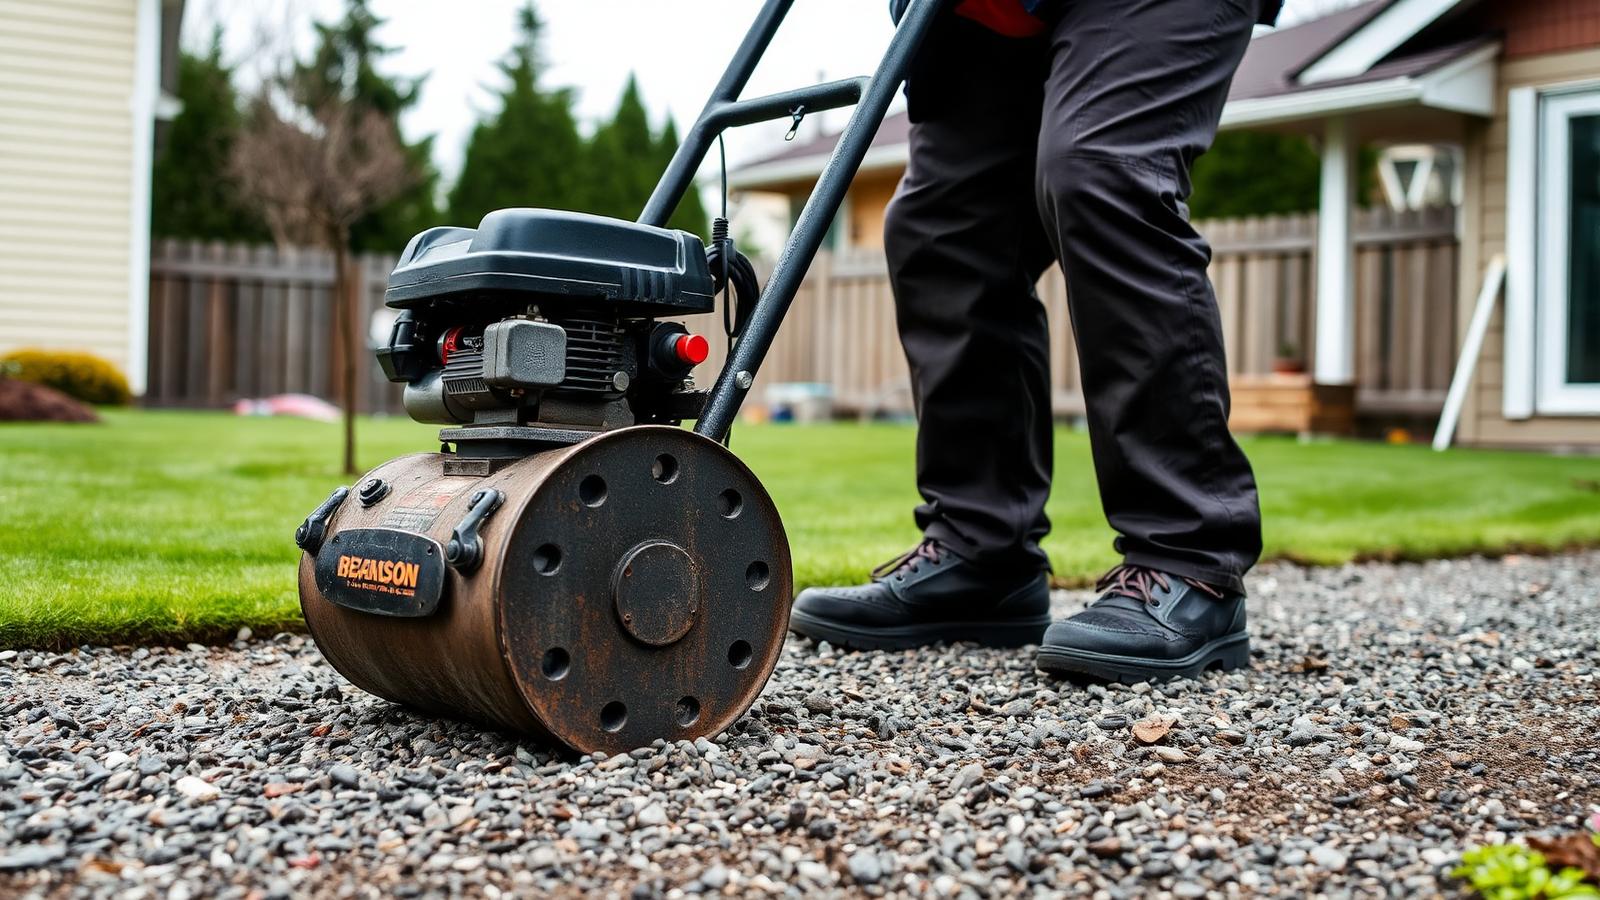
This is the foundation of your entire install — and it's where DIY installs most often succeed or fail. A properly compacted gravel base provides drainage, stability, and prevents the turf from shifting or developing soft spots.
- •Spread 3–4 inches of 3/4" minus crushed gravel (road base) evenly
- •Grade the surface to ensure water drains away from structures — aim for 1–2% slope
- •Compact thoroughly with a plate compactor — at least 2–3 passes in different directions
- •Check for low spots and fill before your final compaction pass
- •Finished base should feel firm underfoot with no give
PGB Tip: Renting a plate compactor is non-negotiable for a lasting result. Hand-tamping a large area is not sufficient.
Lay the Weed Barrier
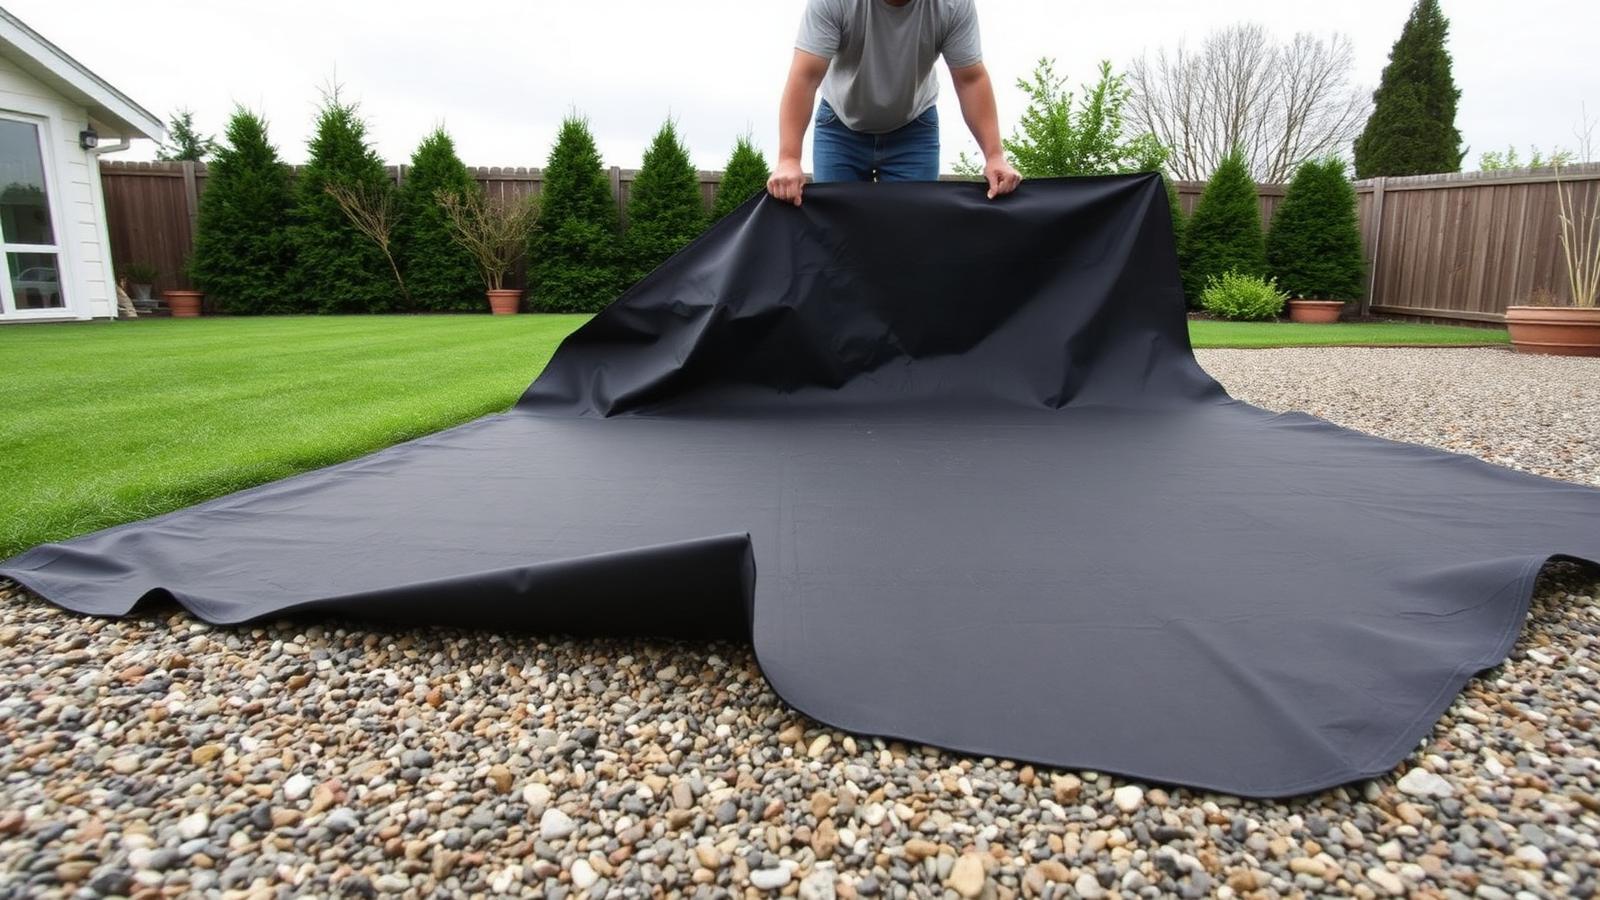
Once the base is compacted and level, lay a quality weed barrier across the entire area. This prevents any remaining seeds or roots from germinating and pushing through the turf surface over time.
- •Unroll the weed barrier and overlap seams by at least 6 inches
- •Pin the barrier in place temporarily
- •Trim neatly around obstacles and the perimeter
- •Use a commercial-grade barrier — thin consumer products break down faster in BC's wet conditions
PGB Tip: We stock heavy-duty 15 ft wide weed barrier — wide enough to cover most yard areas in one or two strips.
Roll Out and Position the Turf
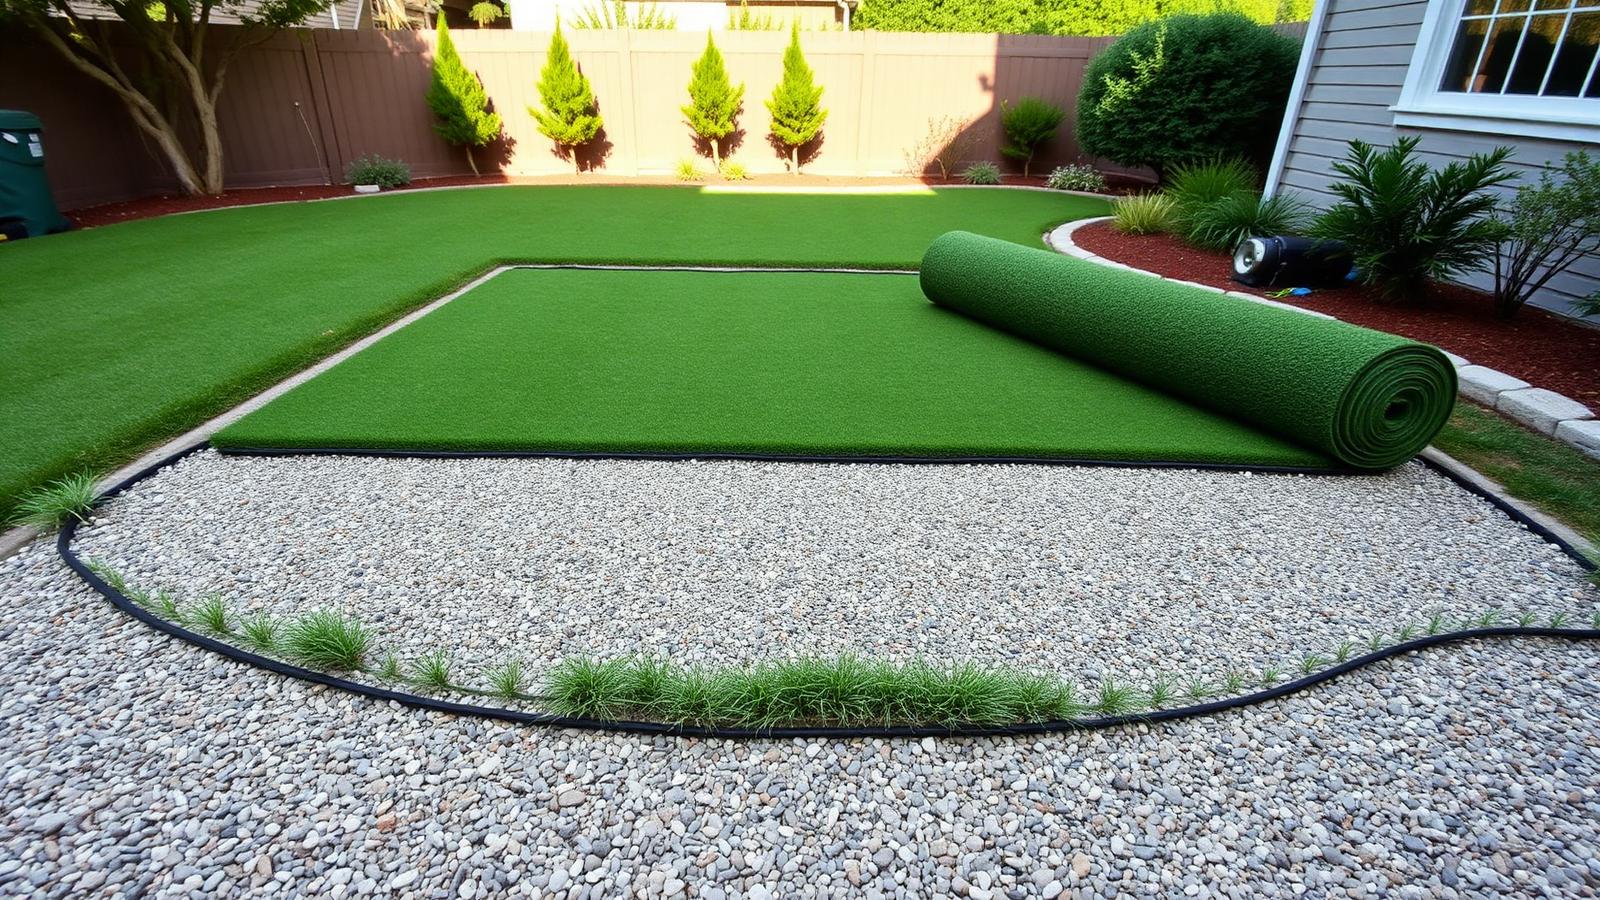
Roll out your turf across the prepared base, taking care with the direction of the pile and the position of any seams.
- •All pieces should run in the same direction — check pile direction across all sections
- •Let the turf relax for 1–2 hours in warmer weather — it will flatten and be easier to work with
- •Position seams away from high-traffic areas and sight lines where possible
- •Leave extra material at the edges — trim to final size after positioning
PGB Tip: Our 15 ft wide rolls reduce the number of seams needed for most standard backyards — ask us about roll widths when you order.
Cut and Trim to Shape
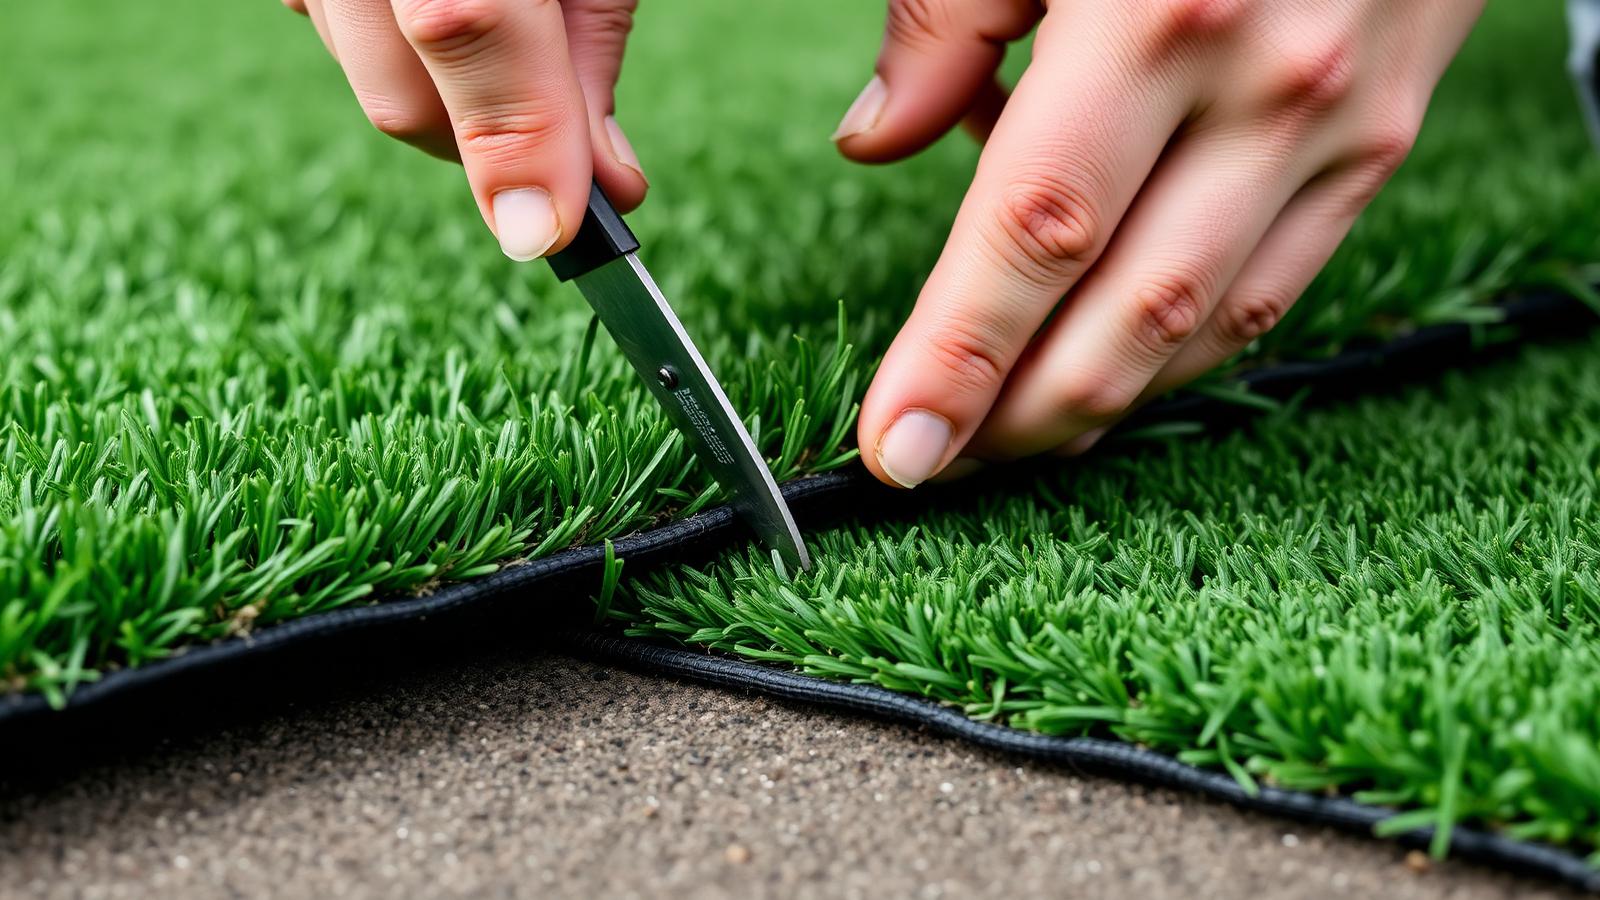
With the turf positioned, cut it to its final shape. Careful cutting is what separates a professional-looking result from an amateur one.
- •Use a sharp utility knife and cut from the backing side — never from the top
- •Use a straight edge or chalk line for any straight cuts along borders
- •For curves, cut gradually — you can always remove more but can't add it back
- •Cut along the rows of stitching where possible — this hides the cut edge better
- •Change blades regularly — a dull blade drags and creates ragged edges
PGB Tip: Before cutting your final edges, double-check positioning one more time. Once cut, there's no going back.
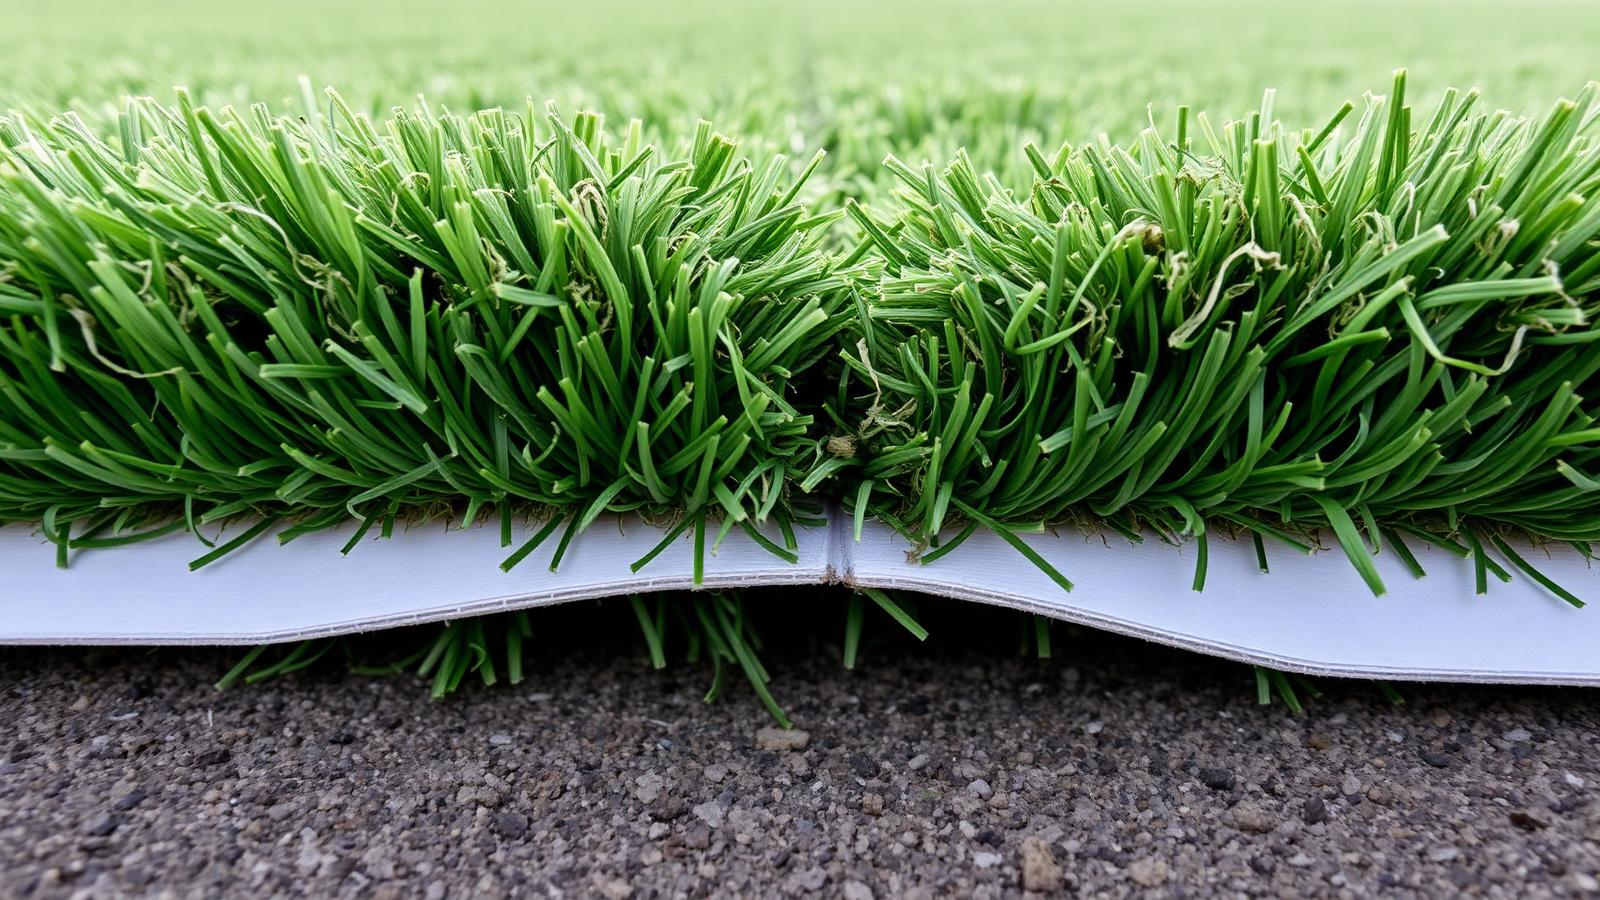
Join Seams (If Applicable)
If your project requires more than one piece of turf, seaming is the most skill-sensitive part of a DIY install. Done well, seams are virtually invisible.
- •Trim both edges along the same row of stitching so the seam sits cleanly
- •Lay self-adhesive seaming tape face-up under the seam, centred between the two edges
- •Press both edges firmly onto the tape — work from the centre outward
- •Check that pile direction matches on both sides before pressing down
- •Apply weight along the seam and allow to set before moving on
⚠️ Heads up: Seaming is the hardest part of a DIY install. If your project has multiple seams in visible areas, contact us — we can advise on technique or connect you with an experienced installer in your area.
Secure the Perimeter and Edges
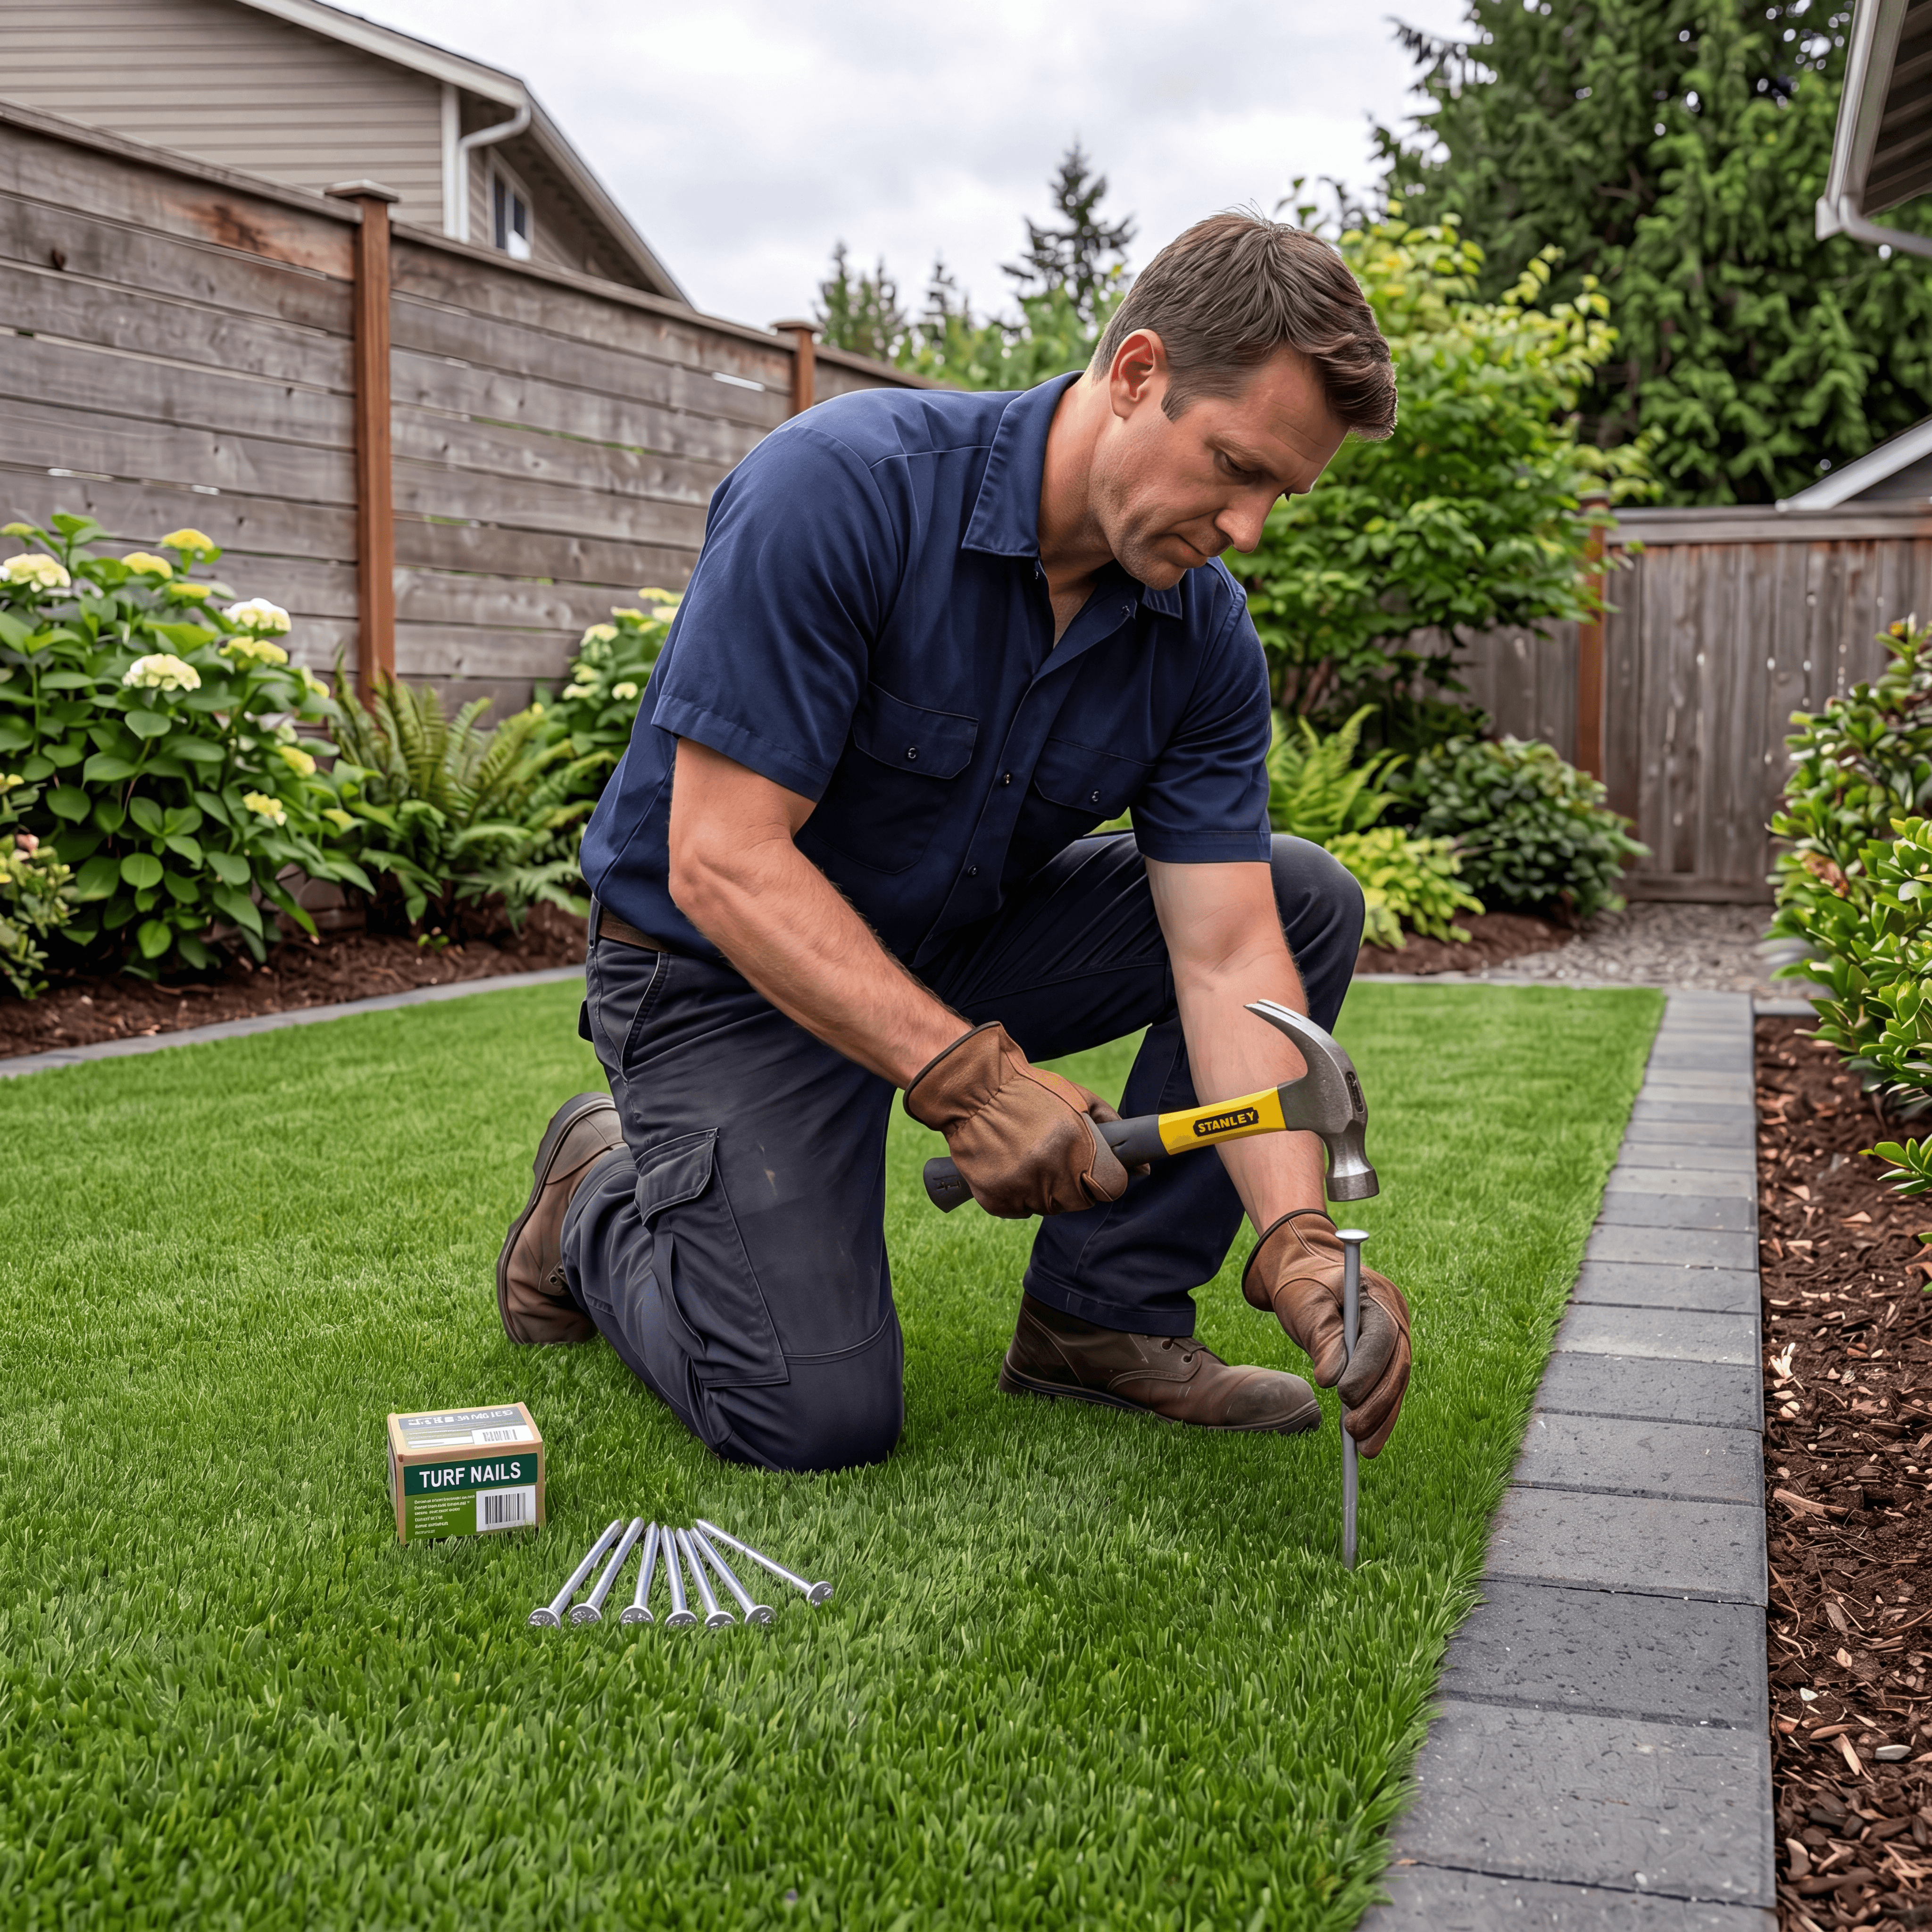
With everything positioned and seamed, fix the turf firmly around its perimeter. This is what stops the edges lifting over time.
- •Drive 6" turf nails or staples every 4–6 inches around the entire perimeter
- •Nail down along any seams as well for extra stability
- •Set nails flush with the backing — pile can be teased over the head to hide it
- •Add bender board or edging where the turf meets soft landscape for a clean line
PGB Tip: Galvanised nails last longer in BC's wet climate than plain steel — worth the small upgrade.

Add Infill
Infill is what gives the turf its weight, keeps fibres upright, and — for pet areas — controls odour. Skipping infill is one of the most common DIY mistakes.
- •Spread infill evenly across the surface using a broadcast spreader or by hand
- •Use the recommended weight per square foot for your turf type (we'll tell you when you order)
- •For pet areas, use Zeo Odour to lock in ammonia and prevent smells
- •Work infill down into the pile with a power broom or stiff brush
PGB Tip: The infill you choose depends on the turf and the use case — a quick call with us saves you buying the wrong product.
Brush, Inspect, and Enjoy
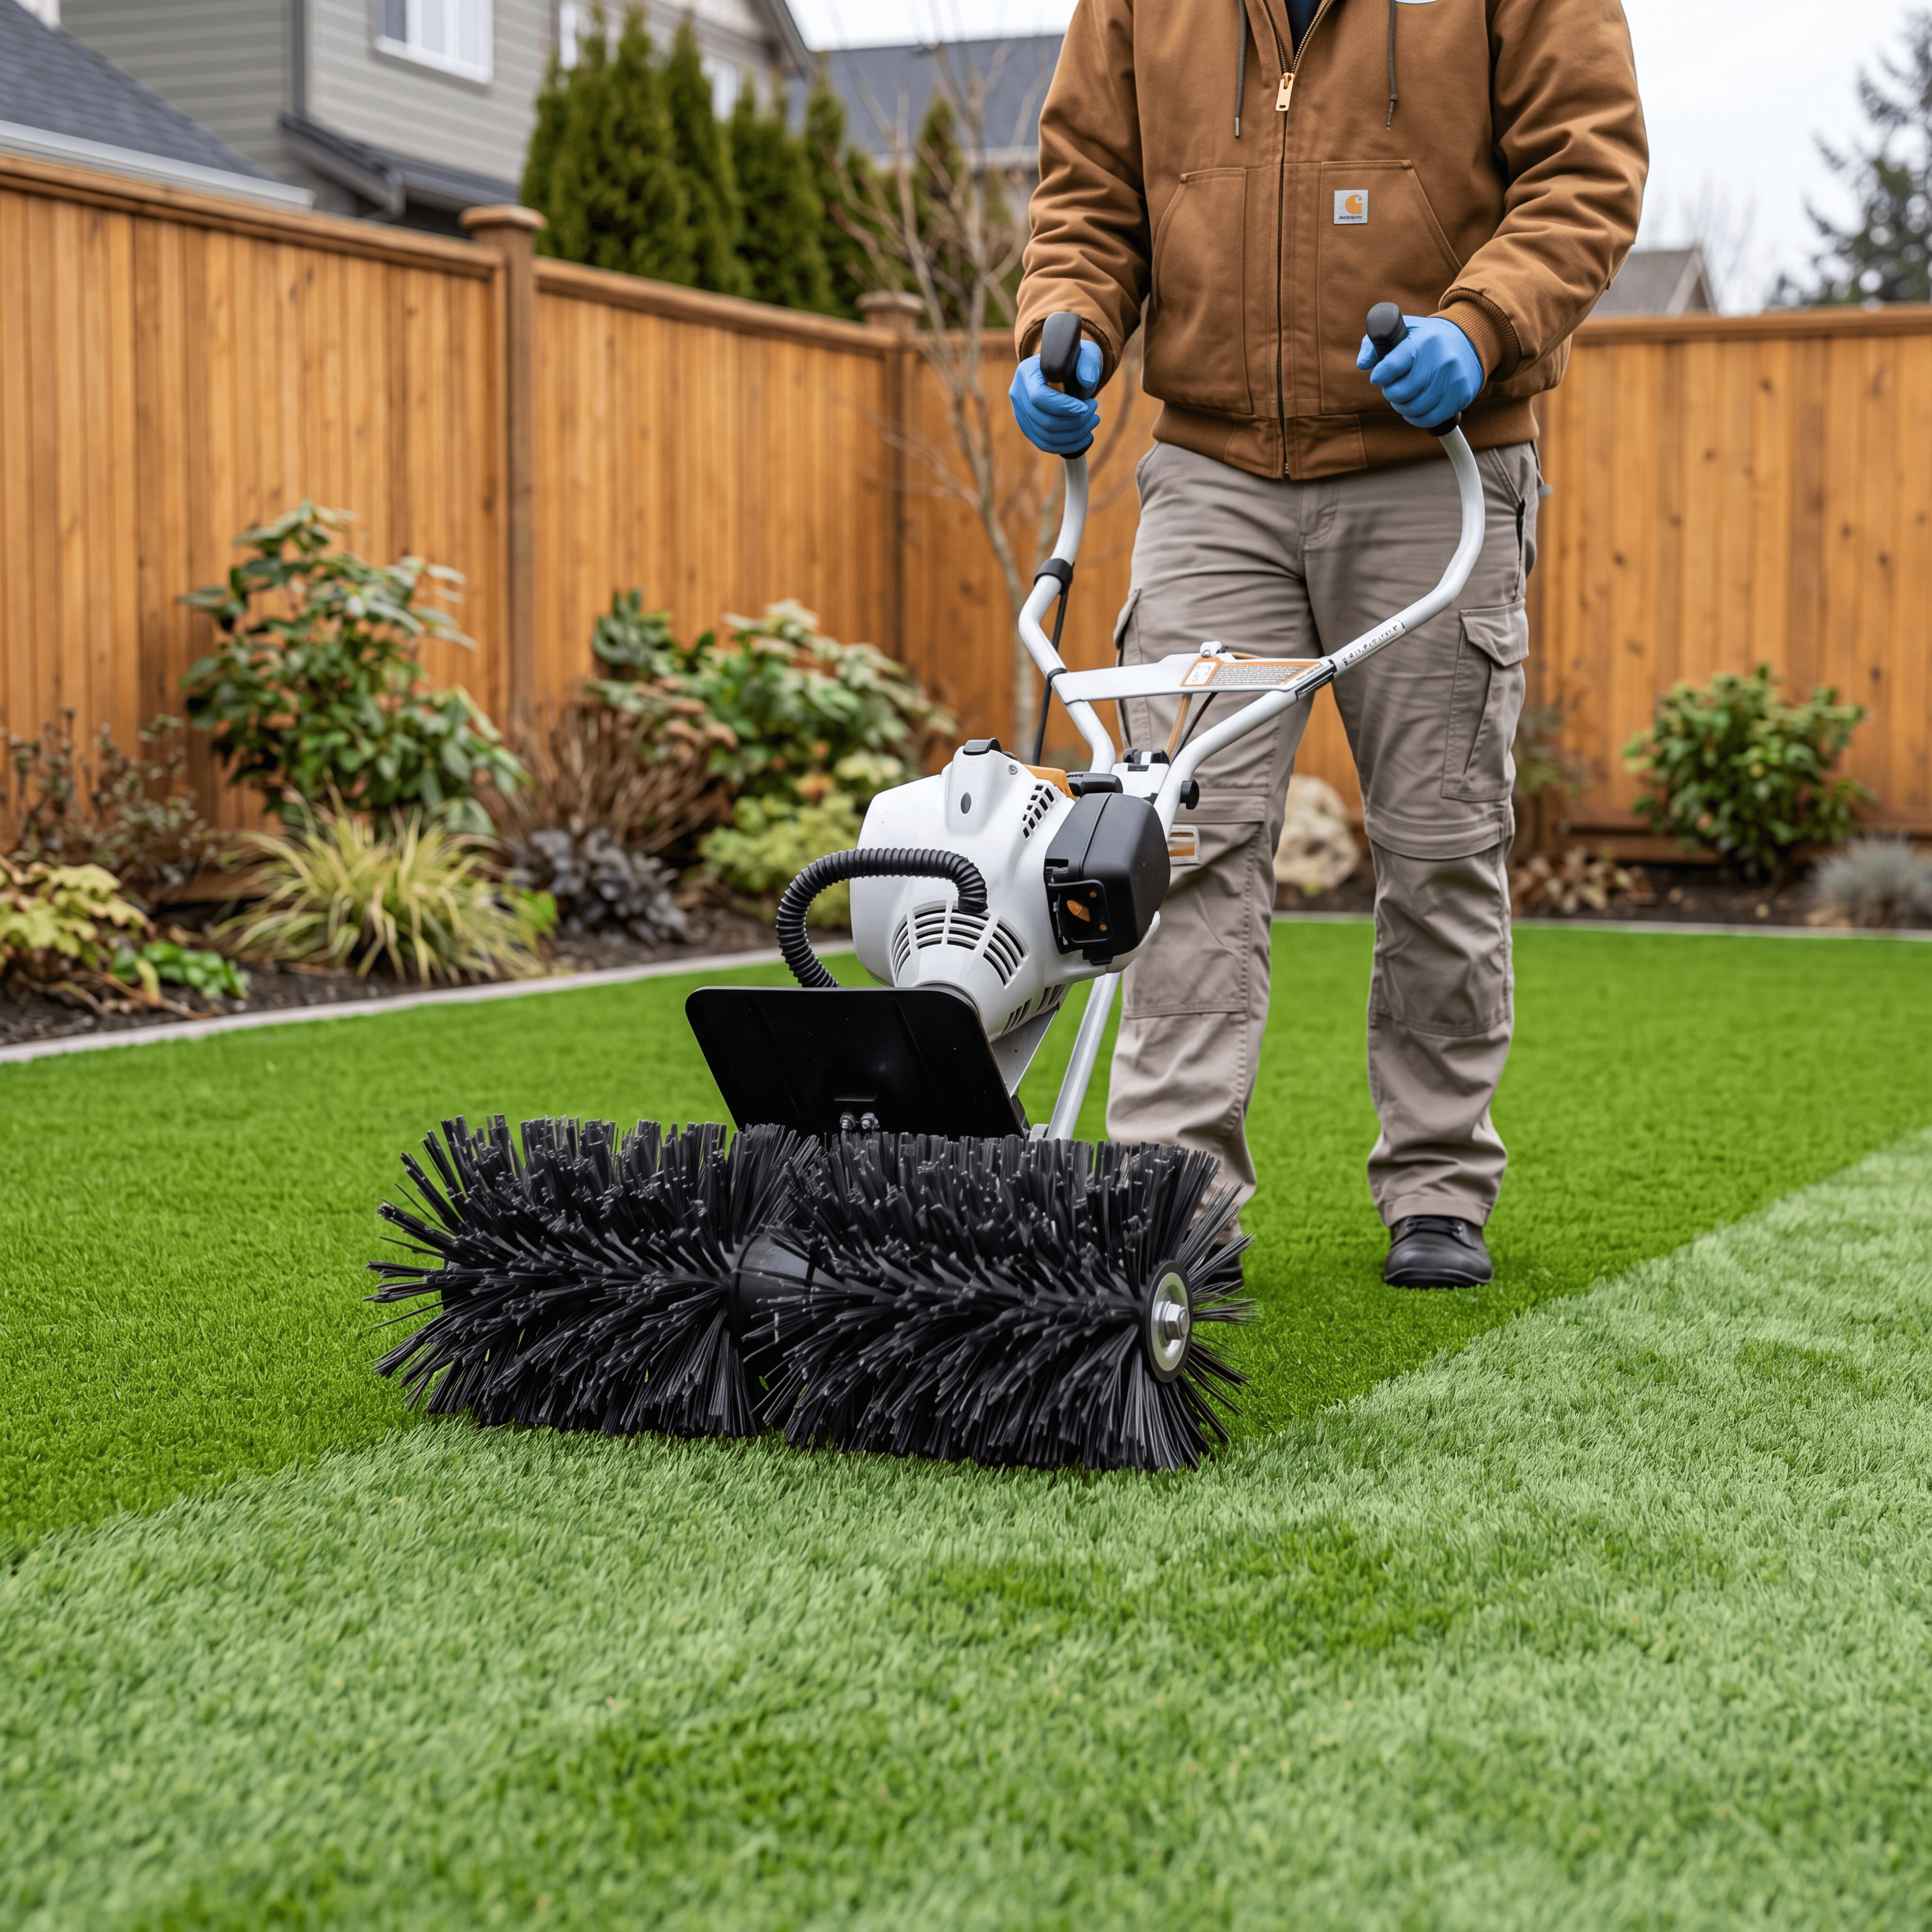
The final step brings your install to life. Brushing lifts the pile, evens out any flattened areas from the roll, and blends any seams into the surrounding turf.
- •Brush the entire surface against the pile direction to stand fibres up
- •Walk the whole area and check for any low spots or lifted edges
- •Rinse the surface with a hose to settle infill and clear any debris
- •Photograph the finished result — you've earned it
PGB Tip: Save your leftover turf offcuts and any spare seaming tape — useful for future repairs if a pet damages a small area.
Products for Your Install
Turf and Materials You Can Order From Us
Turf, base fabrics, infill and finishing accessories — all in stock at our Maple Ridge warehouse for same-day pickup or delivery across BC.

Landscape Turf
Cedar and Evergreen Ranges
Our most popular residential turf lines. Realistic pile, strong drainage, and built for BC's wet seasons — priced from $2.99–5.49 per sq ft.
View Cedar Turf
Pet-Friendly Turf
Evergreen With Zeo Odour Infill
Durable, quick-draining turf paired with zeolite infill to control odour in dog runs and pet areas. Non-toxic and lead-free.
View Evergreen Turf
Accessories & Kits
Everything Else Your Install Needs
Seaming tape, weed barrier, nails, infill and putting-green kits — the small parts that decide whether an install lasts or lifts.
Shop AccessoriesCommon Questions
Frequently Asked Questions
Honest answers to what BC homeowners most commonly ask before starting a DIY artificial turf install.
How long does a DIY artificial turf install take?+
Do I need a permit to install artificial turf in BC?+
Can I install turf directly on soil without a gravel base?+
How do I calculate how much turf I need?+
What is the best artificial turf for a BC backyard?+
How do I handle drainage on a sloped yard?+
Can artificial turf be installed over concrete or a deck?+
What maintenance does artificial turf need after installation?+
Can Premium Grass Blades help me if I get stuck mid-install?+
See and Feel It Before You Buy
Visit Our Maple Ridge Showroom
Our showroom has every turf in our lineup as physical samples, along with infill, weed barrier, seaming tape, nails, and tools on display. If you're in British Columbia, drop in — we'll walk you through the options and help you plan your install.
Showroom & Warehouse
#102 – 20285 Stewart Crescent, Maple Ridge, BC
Hours
Monday – Friday: 9:30AM – 4:00PM • Sat/Sun: Closed
Phone
(604) 757-2899

Ready to Start Your Project?
Tell Us About Your Install in British Columbia — We'll Help You Plan It
Whether you're ready to order or still figuring out your plan, our BC-based team is here to help. Share your project details and we'll come back within one business day with product recommendations, quantity estimates, and answers to your questions — no obligation.
- •Free material quantity estimate based on your square footage
- •Product recommendation for your specific use case and BC conditions
- •Infill and accessories guidance so you buy right first time
- •Option to visit the showroom and feel products in person
- •Installer referral if you decide DIY isn't for you
- •No pressure — just practical help from a BC turf supplier
Prefer to talk?
Call (604) 757-2899 Mon–Fri 9:30AM–4:00PM
Or visit our Maple Ridge showroom.
You've Got This — And We've Got You
Your British Columbia DIY Install Starts With the Right Materials and a Solid Plan
Premium Grass Blades has been helping British Columbia homeowners choose, plan, and complete their own artificial turf installations since 2016. Whatever stage you're at — we're here to help you get it right.
Visit our Maple Ridge showroom to see and feel every turf option in person, shop our full product range online, or reach out to our team with your project details.
© 2026 Premium Grass Blades. All rights reserved.
Proudly BC-owned and operated since 2016.